Get a Free WorkTrek Demo
Let's show you how WorkTrek can help you optimize your maintenance operation.
Try for freeKey takeaways:
- In the U.S., control system maintenance includes ensuring compliance with the National Electrical Code.
- Maintenance must follow strict OSHA requirements for Lockout/Tagout and PPE procedures.
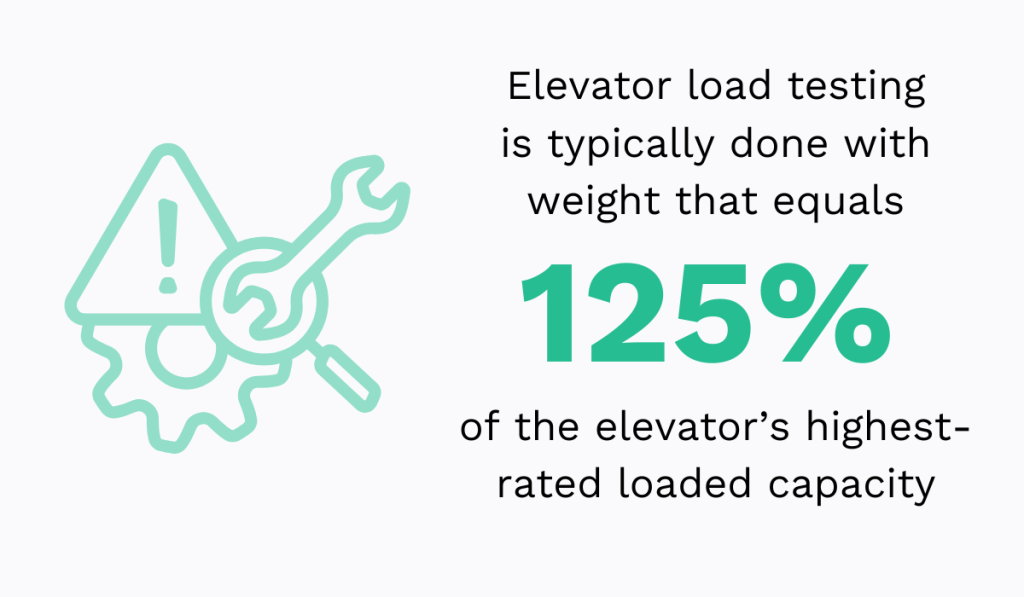
- Elevator load tests are typically performed at 125% of rated load capacity.
How confident are you in your team’s elevator maintenance routine?
After all, these complex machines require consistent, detailed attention to stay safe and reliable for daily use.
If you’re looking for a clear, organized way to structure your maintenance efforts, read on.
In the following sections, we will provide a step-by-step checklist that covers every critical inspection point, helping you ensure safety and operational efficiency without missing a step.
Machine Room
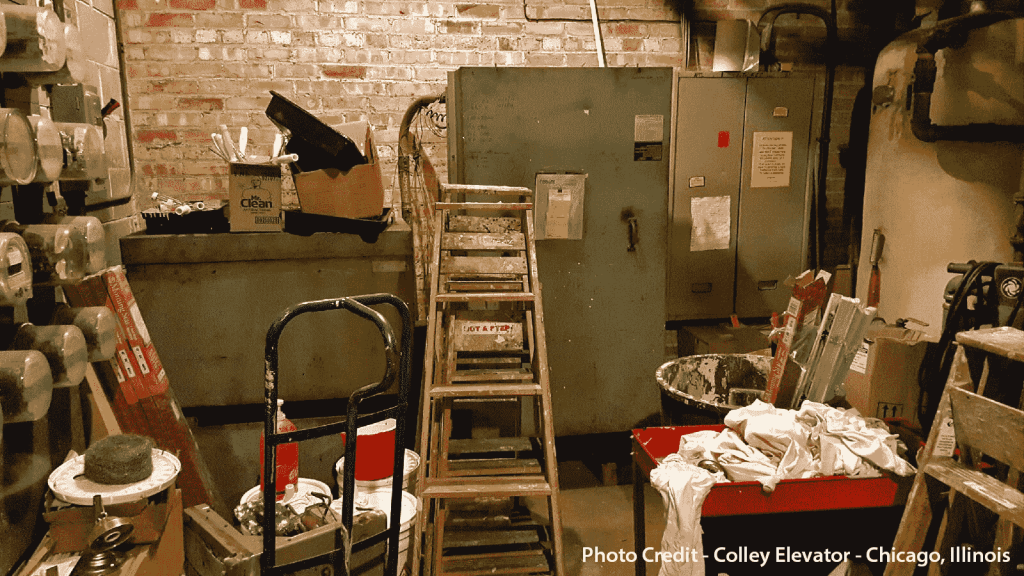
The elevator’s machine room houses key equipment, so keeping it in perfect condition is a top priority. For starters, this space must be kept clean and free of any dust or clutter.
It should never be used as a storage closet for unrelated items, as this can create fire hazards and obstruct maintenance personnel’s access.
The image below shows exactly what you want to avoid.
Beyond general cleanliness, it’s crucial to inspect the main equipment.
Check that the motor, controller, and drive units have proper ventilation and show no signs of overheating. Also, look carefully for fluid leaks around the machinery.
A thorough visual inspection will help you confirm that all these critical components are in good working order and are not at risk of failing unexpectedly.
Additionally, verify that lighting is adequate, access doors are secure, and that all safety signage is visible and up to date.
These small details contribute to a safer working environment. Plus, a clean, well-kept machine room also reduces the risk of control system issues.
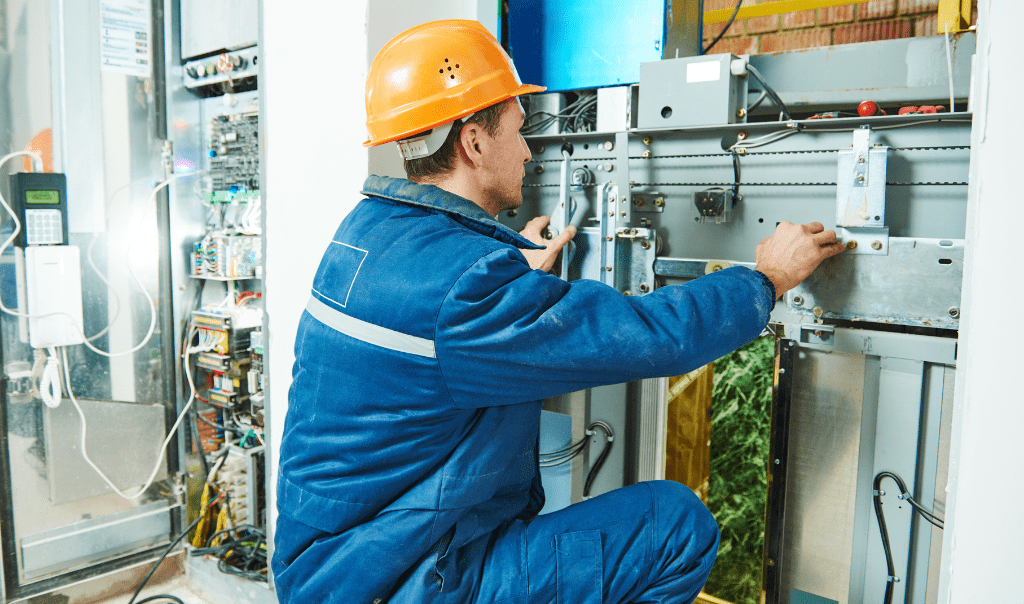
Control System
On that note, carefully inspecting the control system and its components may be the most important item on this checklist.
Teams need to carefully examine every fuse, relay, and contactor for wear, corrosion, or damage. Wiring should be neatly routed and securely fastened to prevent accidental shorts or interference with moving parts.
Also, look closely at circuit boards and components for burn marks or discoloration, as these can indicate electrical stress or a failing component.
As Master Electrician David Herres explains, compliance with the National Electrical Code (NEC) standards is essential during this stage in the maintenance process.
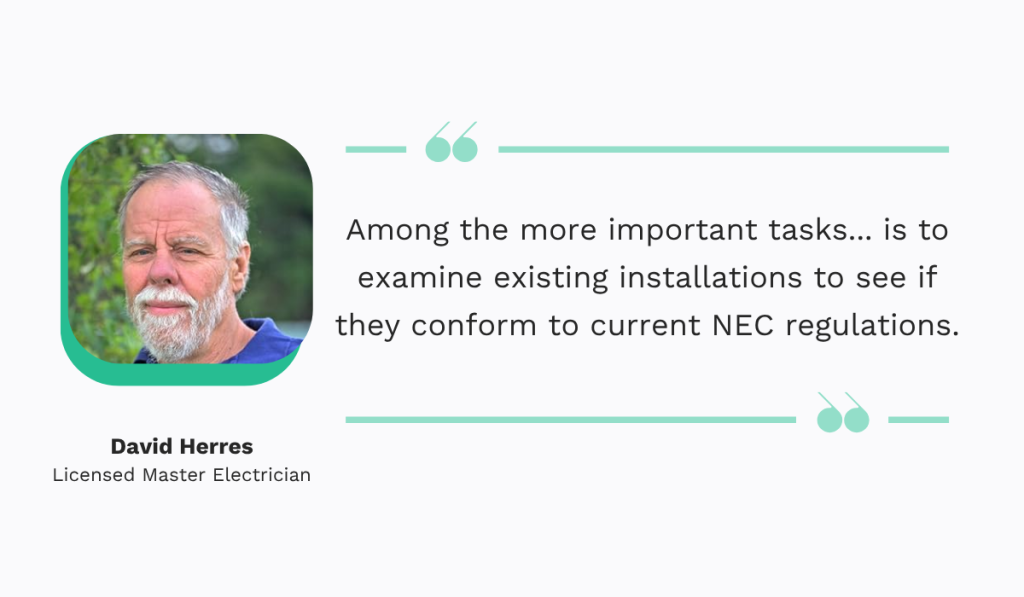
Proper grounding, wire sizing, and circuit protection are essential for safety and are legal requirements directly impacting liability.
Once visual inspections are complete, the crew should perform continuity tests on safety relays and simulate fault conditions to confirm circuit integrity.
This includes checking door interlocks, emergency stop circuits, and limit switches to ensure they trigger appropriate responses.
This detailed check ensures the elevator responds correctly to commands and that all safety circuits are functioning as they should.
Hoistway (Shaft)
The hoistway is the next most important item on this checklist after the control system, as issues here can cause entrapment, fire risk, or even elevator derailment.
Listed below are some of the essential maintenance aspects to consider:
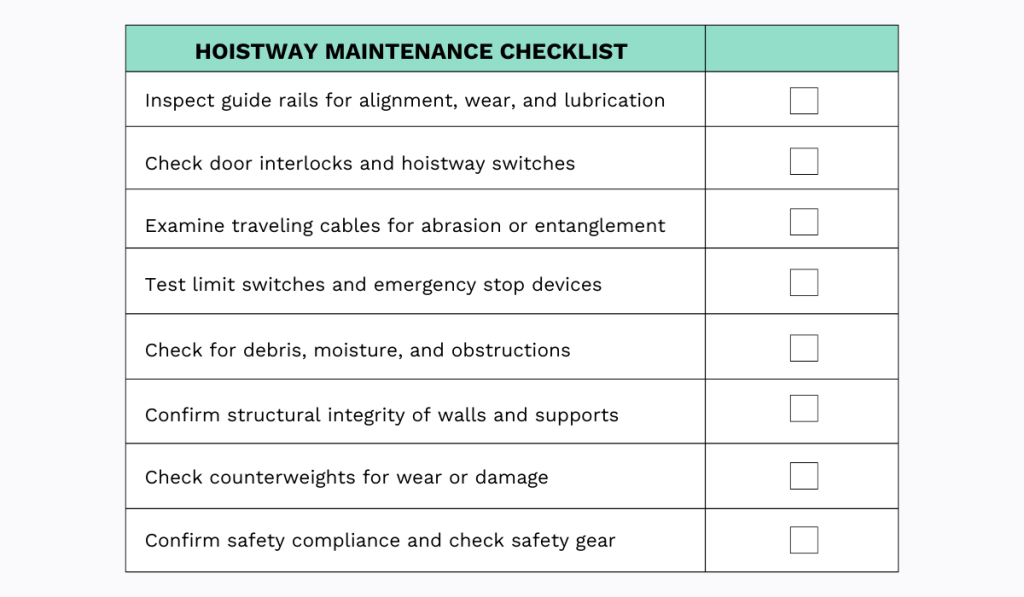
During inspection, carefully check the guide rails for proper alignment and lubrication, and any signs of wear.
Similarly, inspect the counterweights and their guide shoes for any damage. Cracks, chips, or loose fittings can compromise the elevator’s balance and braking performance.
Also, the hoistway must be completely clear at all times, so look for any debris or obstructions that could interfere with the elevator’s movement.
You should also inspect all the elevator ropes, including the governor’s rope, to ensure these overspeed protection devices are in excellent working order. Fraying, corrosion, or slack in this rope can prevent the system from activating during a free-fall scenario.
Finally, other safety systems, including the limit switches and gear, should be tested under expert supervision and following strict safety protocols.
Elevator Pit
The elevator pit, located at the bottom of the hoistway, requires regular attention to prevent long-term problems.
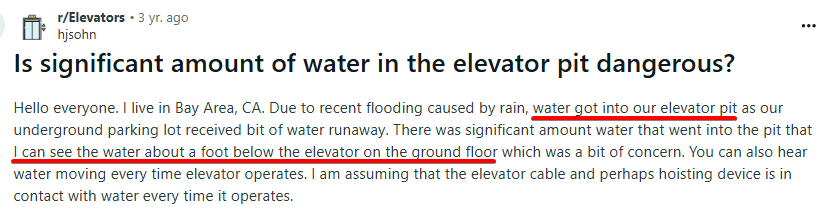
The most important first step is to ensure the pit is clean and dry.
Standing water, oil residue, or accumulated debris can accelerate corrosion and compromise the integrity of mechanical components over time.
In case of unforeseen circumstances, like the pit flooding faced by this Reddit commenter, action must be taken immediately to prevent rust and equipment failure.
While the maintenance crew is in the pit, they should inspect the buffers—whether they are spring or oil-based—for any signs of wear or damage.
The pit ladder should also be checked to ensure it is stable, clean, and safe, to prevent safety issues during regular maintenance or emergencies.
Along with the ladder, confirm that the entire pit has proper lighting and that any Ground Fault Circuit Interrupter (GFCI) outlets are functioning correctly, as these are crucial safety features for maintenance personnel.
Car Top
Inspecting the top of the elevator car is a critical part of any thorough maintenance routine, as some key operational components are located here.
The image below provides a clear view of the different parts that will need to be examined.
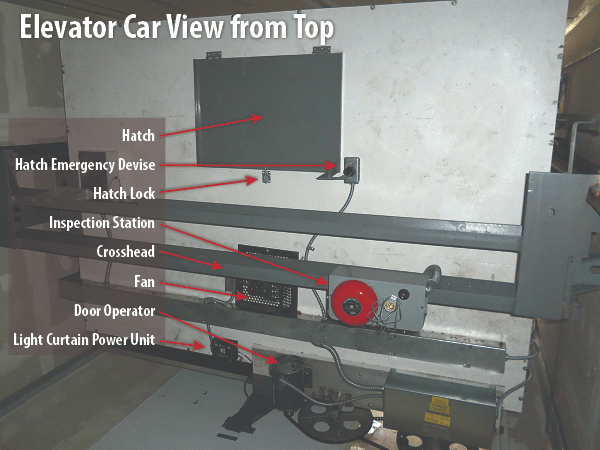
Start by checking that the inspection station is fully functional—verifying that all switches, buttons, and indicator lights respond correctly.
Pay close attention to the power and communication cables, which supply power and communication to the car. Look for any signs of wear, fraying, or kinking, and ensure they are properly suspended and not rubbing against any part of the hoistway.
To complete the inspection, the emergency exit hatch and its light should be tested to ensure they work correctly, and the car’s ventilation fan should be verified as operational.
Inside the Elevator Car
The interior of the elevator car is where passengers interact directly with the system, so ensuring everything works perfectly is essential for their safety and comfort.
The control panel requires the most careful inspection, as shown in the image below.
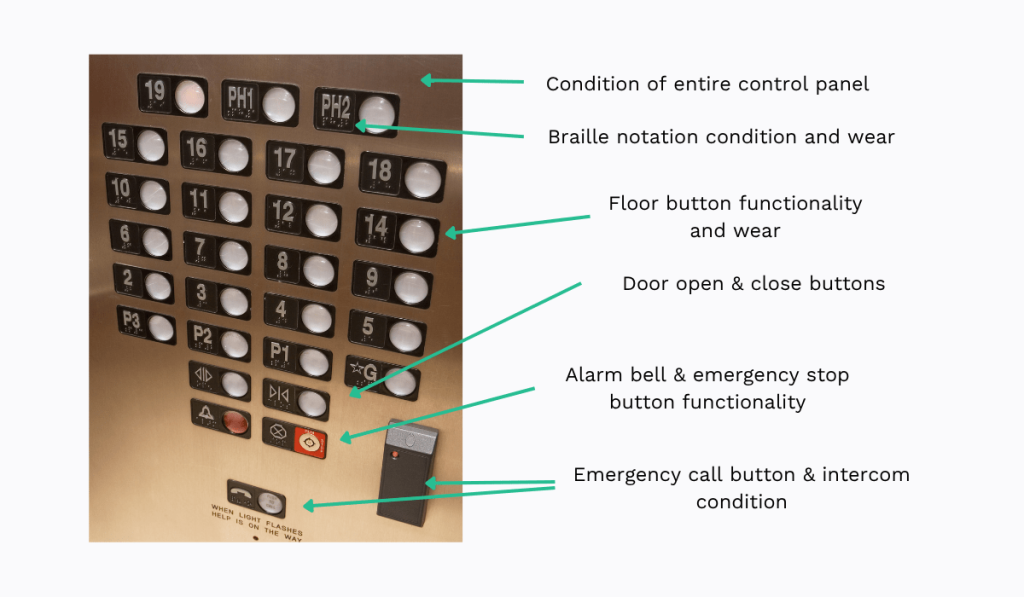
Focus on the essentials, such as testing the emergency call button or phone for clear intercom connections and ringing the alarm bell.
Next, the buttons controlling the door’s operation and the floor number buttons are checked to ensure they work as they should, and to check for wear on accessibility features like the Braille notations.
Beyond these items, you should verify that the elevator car works smoothly and levels accurately with the floor, as even small misalignments can be a trip hazard.
So, listen for odd vibrations during travel and verify proper leveling at each landing.
Hall Stations and Doors on Each Floor
Elevator maintenance extends beyond the elevator car to every floor the elevator serves.
So, maintenance teams need to inspect the hall stations and doors to ensure a seamless user experience.
At each landing, check that the call buttons are responsive and light up when pressed.
Door tracks and sills should be clean and clear of debris, as small objects can easily cause the doors to jam or become misaligned.
Finally, test the door reopening devices, such as the electronic sensors or safety edges, to ensure they correctly detect obstructions and prevent the doors from closing.
Operational & Safety Tests
We’ve mentioned various safety checks throughout this guide, but this area is so important that it deserves its focus.
For starters, you need to ensure the elevator can operate at its full rated capacity without any issues like slipping or stalling.
This is confirmed through a load test—typically performed annually or as required by local safety codes—which, according to multiple sources, should use 25% more weight than the elevator’s maximum rated load.
During this test, you are looking for any signs of slipping, stalling, or unusual strain on the motor and brakes.
Next, a detailed inspection of the brake system is crucial, covering its mechanical and electrical components.
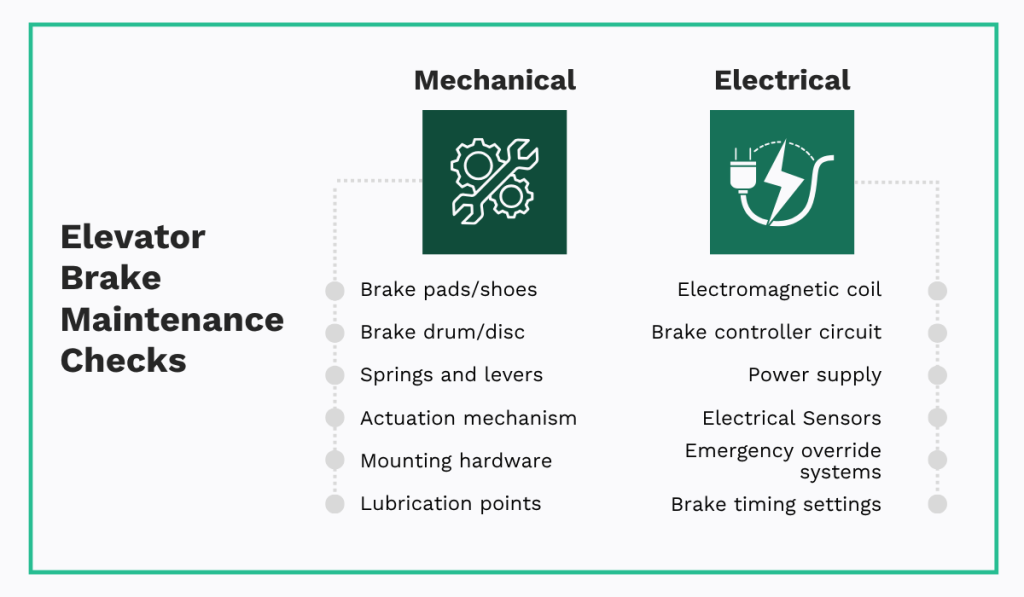
As a crucial safety mechanism, you need to ensure the brake engages smoothly and holds the car firmly in place without any drift or hesitation.
On a related note, you must also test the emergency power system to ensure the elevator can safely operate and reach a floor during a power outage.
A final, critical step is to perform a fire service recall test, but only if your maintenance crew is trained and authorized to do so.
Documentation
Proper documentation is an often-overlooked aspect of maintenance operations.
However, having teams track their maintenance efforts is an important step that should be performed continuously during every other step on our checklist.
At a minimum, logs should always include the following entries:
- Inspection dates
- A description of all tasks performed
- A list of any parts that were replaced
- Notes on any issues or problems that were found
- The name or signature of the technician who did the work
Trying to manage all of this with pen and paper can be tough, and it’s easy for details to get lost, which can lead to overlooked repairs or worse, compromise the safety of the entire elevator system.
This is where a modern tool can help.
Using a computerized maintenance management software (CMMS) like WorkTrek makes logging everything much simpler.
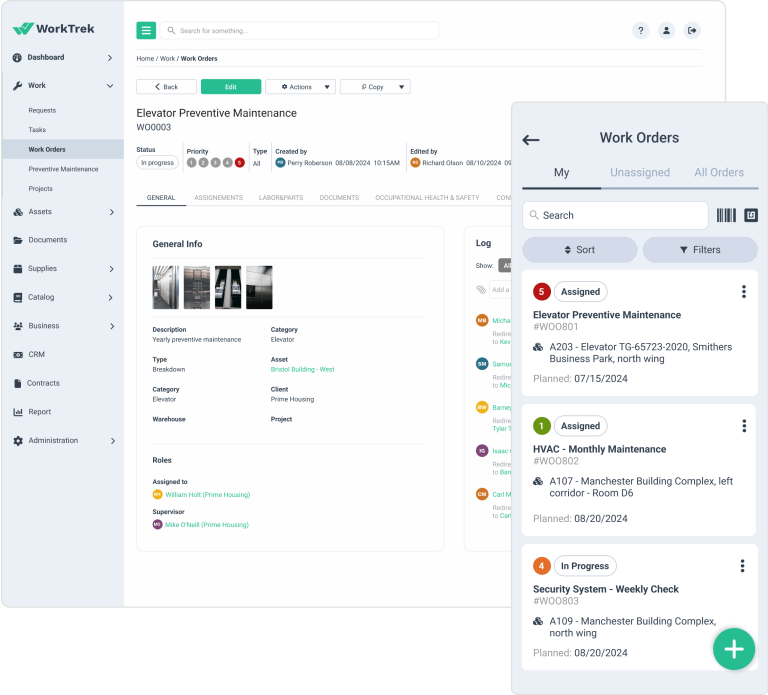
For instance, technicians can update tasks directly from their phones and attach photos of a problem to the work order.
The system also sends out automatic reminders for upcoming maintenance, so you never have to worry about forgetting an inspection.
Best of all, every piece of information is stored in one central place, making it easy to pull up records for an audit and ensuring no task is ever overlooked.
Ultimately, solid elevator maintenance documentation keeps your team accountable and helps improve future operations.
Bonus Tips for Maintenance Techs
To round out our guide, here are some important bonus tips that every maintenance manager should keep in mind.
First and foremost is ensuring the personal safety of your crew.
This means directly enforcing the strict safety procedures outlined by the Occupational Safety and Health Administration (OSHA).
As noted in this article by the National Elevator Industry Educational Program (NEIEP):
“OSHA holds companies accountable for providing safe working conditions by setting and enforcing standards to ensure workplaces are free from serious recognized hazards.”
One of these standards includes ensuring teams follow proper lockout/tagout (LOTO) procedures before starting any work on electrical components.
It is also critical for teams to wear the required Personal Protective Equipment (PPE) at all times, including gloves, a helmet, safety glasses, and non-slip shoes.
In addition, fall protection gear is essential for shaft and top-of-car work to prevent deadly falls.
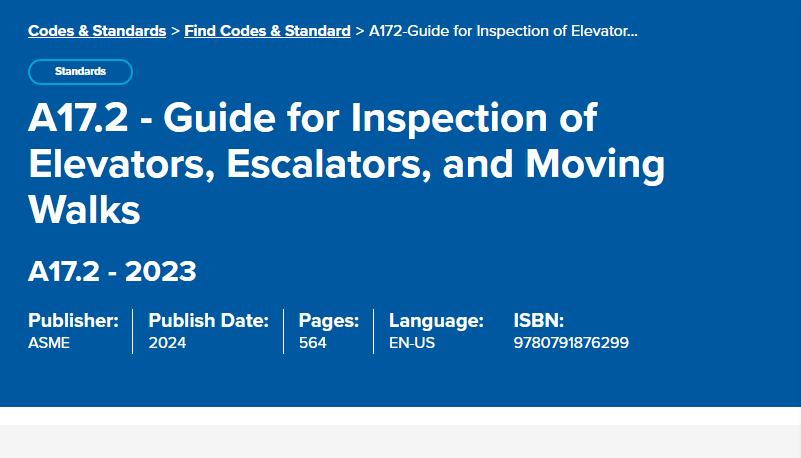
Beyond personal safety, all personnel should be properly trained and certified according to industry standards like ASME A17.1/CSA B44 and be informed on resources like the ASME A17.2 inspection guide.
Beyond these general standards, it is your responsibility to ensure your team always consults and adheres to the specific manufacturer’s guidelines for every elevator model.
This is best achieved by maintaining an accessible digital or physical library of all relevant service manuals.
You can further integrate these requirements by incorporating model-specific tasks directly into your maintenance checklists or CMMS work orders, ensuring technicians review them before beginning any job.
Ultimately, this dual focus on safety and technical compliance will take the success and reliability of your maintenance operations even further.
Conclusion
With this clear maintenance checklist in hand, preferably digitized and easy to use, elevator care becomes much more straightforward.
As you integrate these checks into your daily, weekly, and yearly maintenance routines, you’ll catch minor issues before they turn into big headaches.
This steady approach—supported by maintenance management tools—will extend the lifespan of your clients’ elevators and maximize your team’s efforts.